Colonial End Table, Pattern No. 75
At some point in the 1960s (no one in my family is exactly sure when), my grandpop mailed away for plans to the table above from U-Bild Enterprises in Van Nuys, California. The instructions arrived in the form of paper templates, ready to be traced onto pine from the local hardware store. The lumber was cut using a handsaw. All of the curves were smoothed, and the edges rounded over with a rasp.
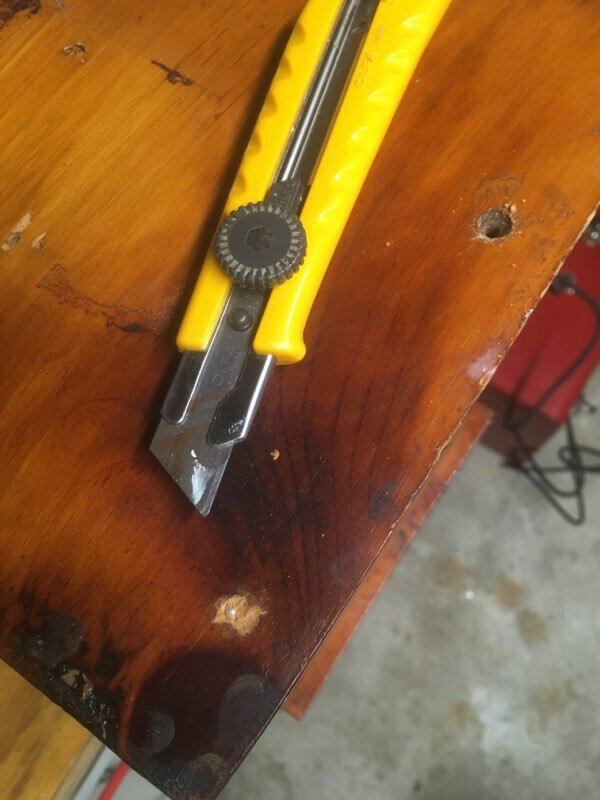
Decades of use had worn away and dirtied the original finish. The tabletop and loose front leg had taken the brunt of the abuse receiving countless nicks, scrapes, and gouges. A small gap (called for in the plans) between the two boards forming the top attracted dust and anything small enough to fall into the crevice.
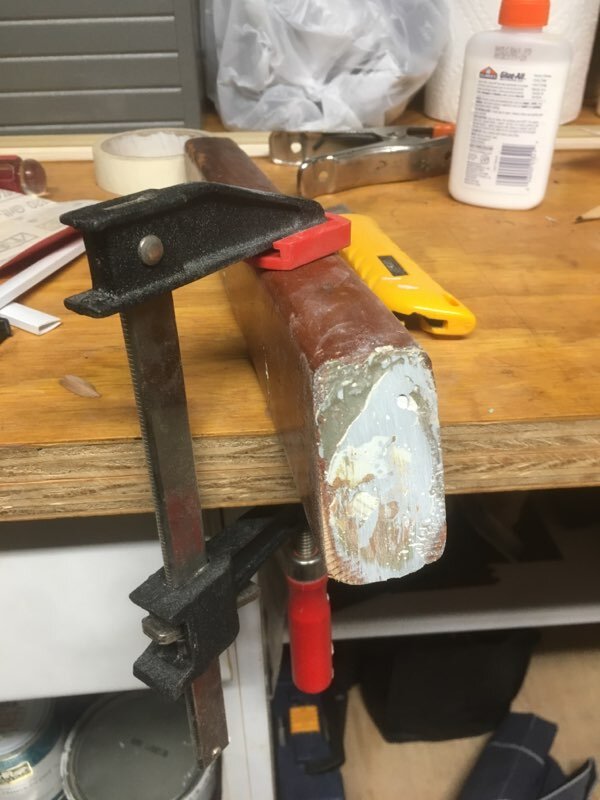
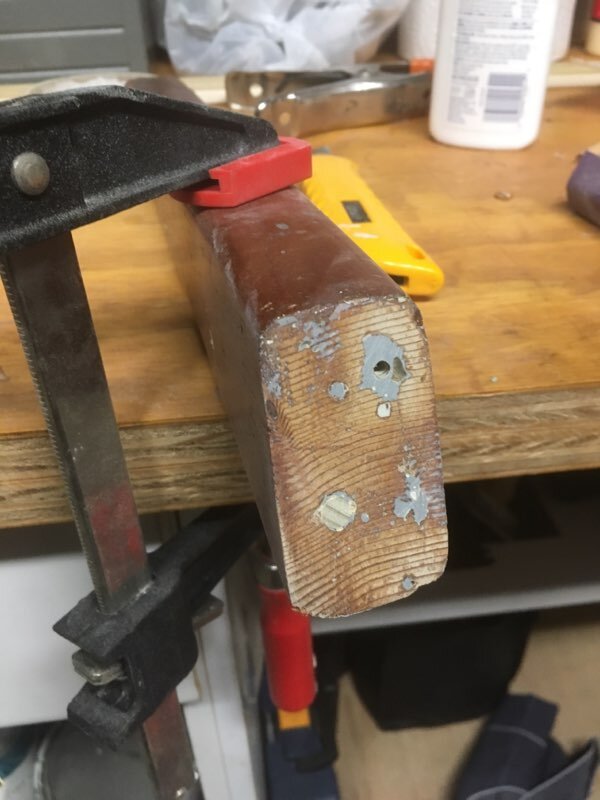
Due to the uneven finish and general state of neglect, a complete rebuild was required. Repairing the loose front leg meant disassembling the majority of the table. After removing a stuck screw, the hole was cleared and plugged with a wooden dowel. Removing glue build-up from previous repair attempts let the leg squarely butt up against the cleat. Drilling into the dowel allowed for the front leg to be securely attached.
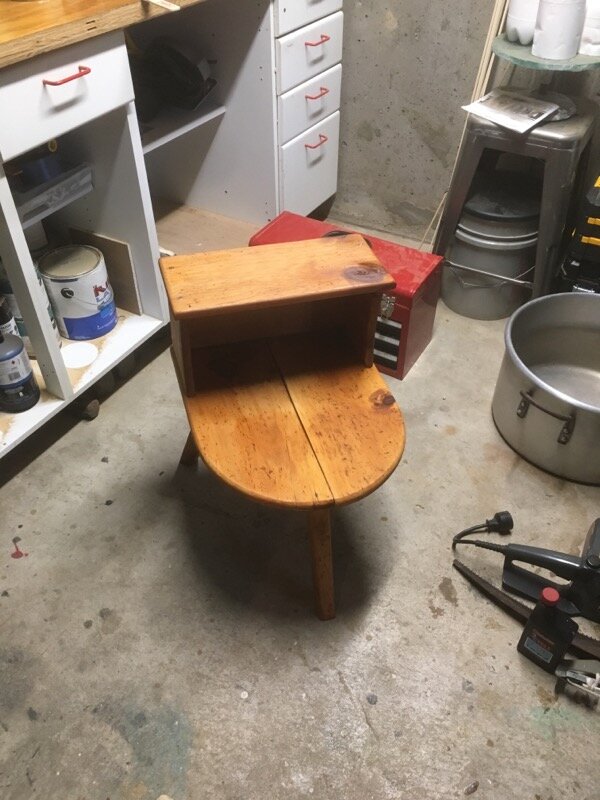
The gap in the top was closed by pouring in epoxy resin, dyed black. This filled the opening while honoring the gap called for in the original plans. Additionally, the epoxy forms a bond holding the two boards together. Each had bowed considerably over time, making a perfectly flat surface impossible beyond the seamline.
Sanding all of the pieces — first with 120 grit, then 150, and finally 220 — removed the remaining finish. Reassembling the table was accomplished by screwing the legs to the cleats before attaching the top.
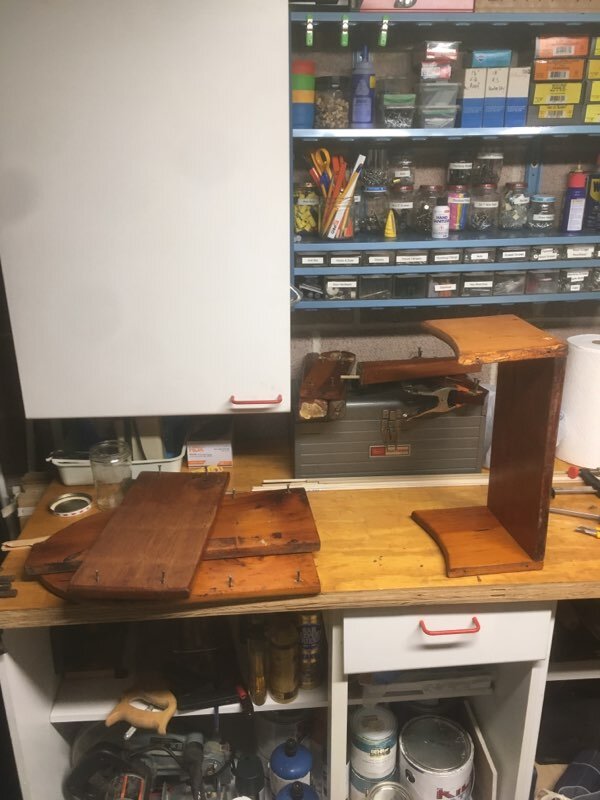
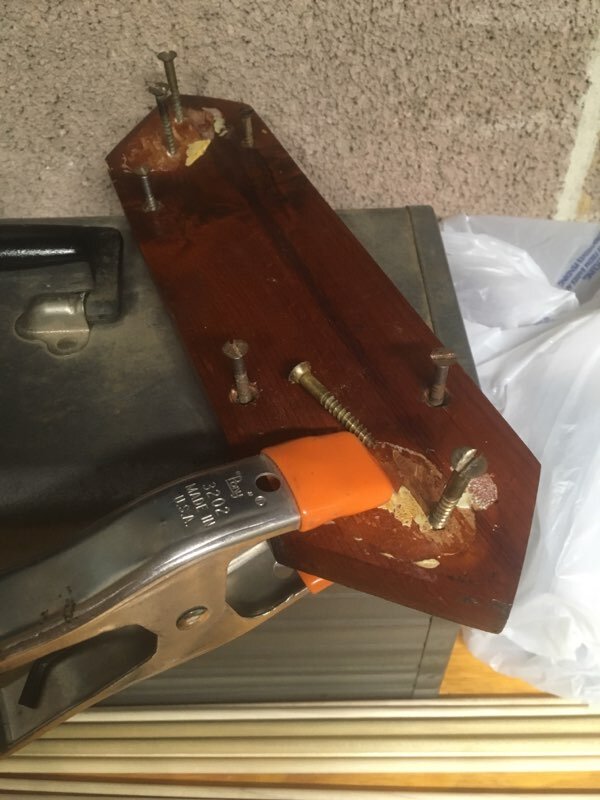
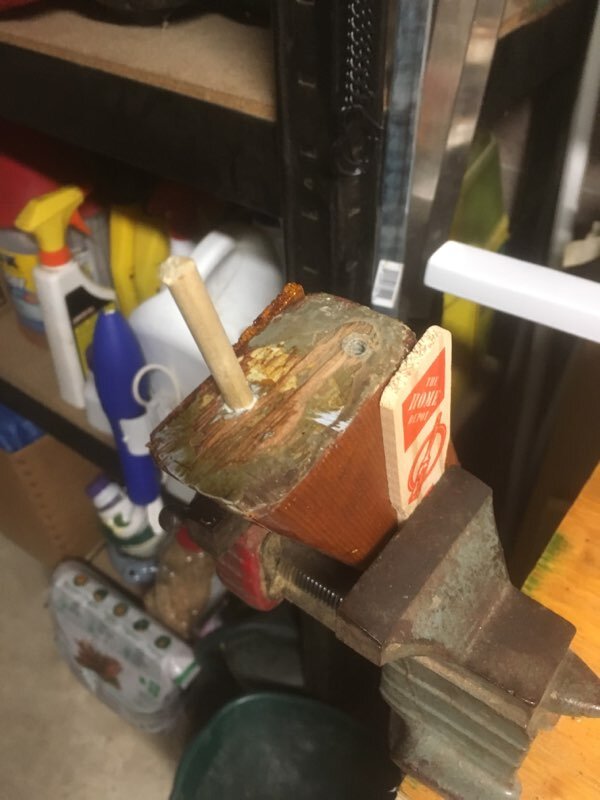
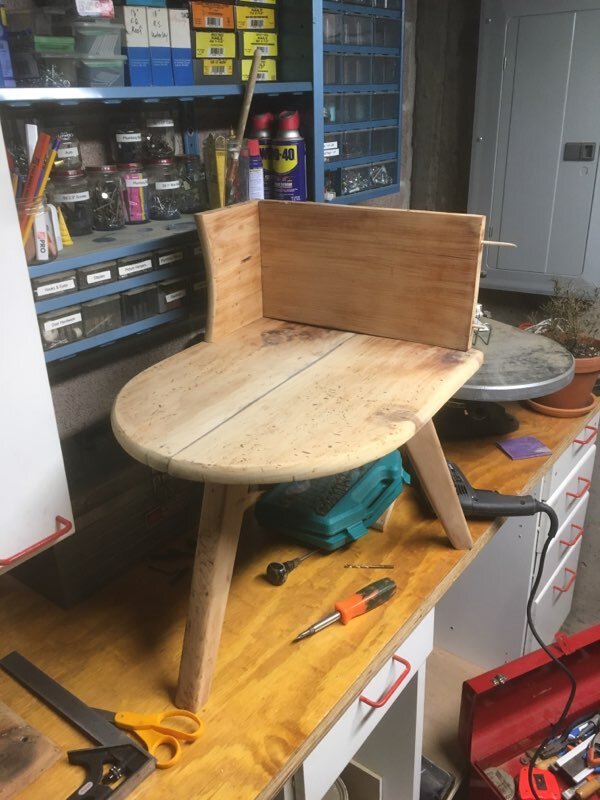
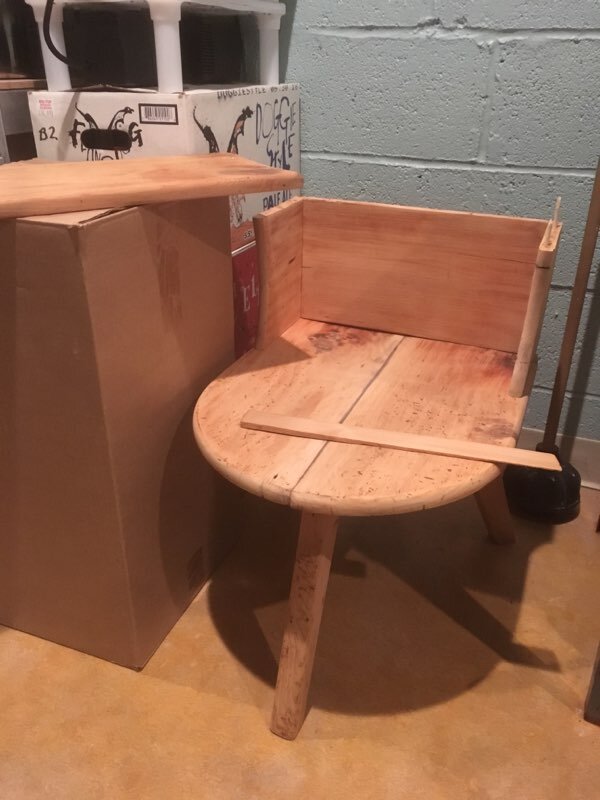
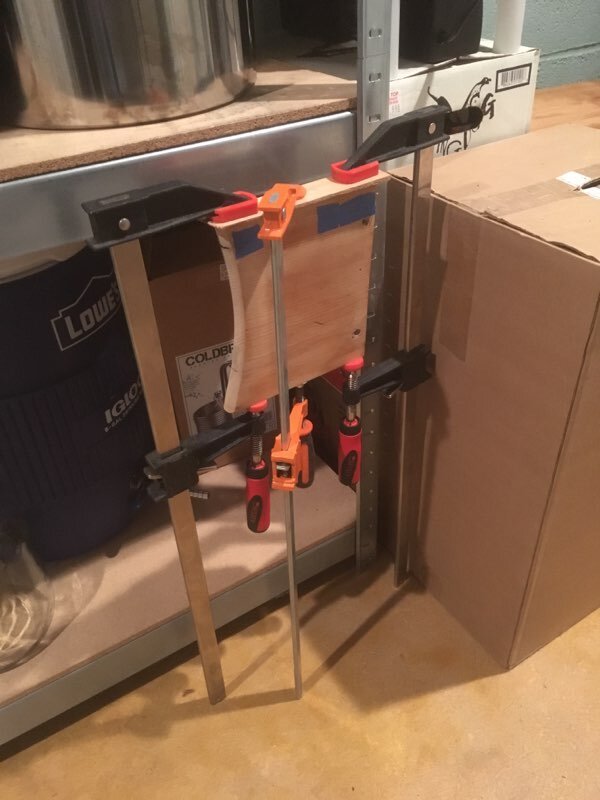
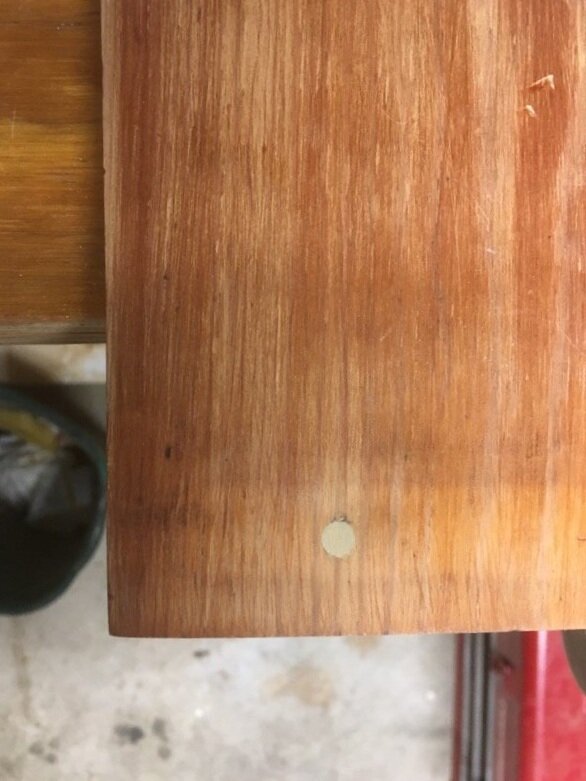
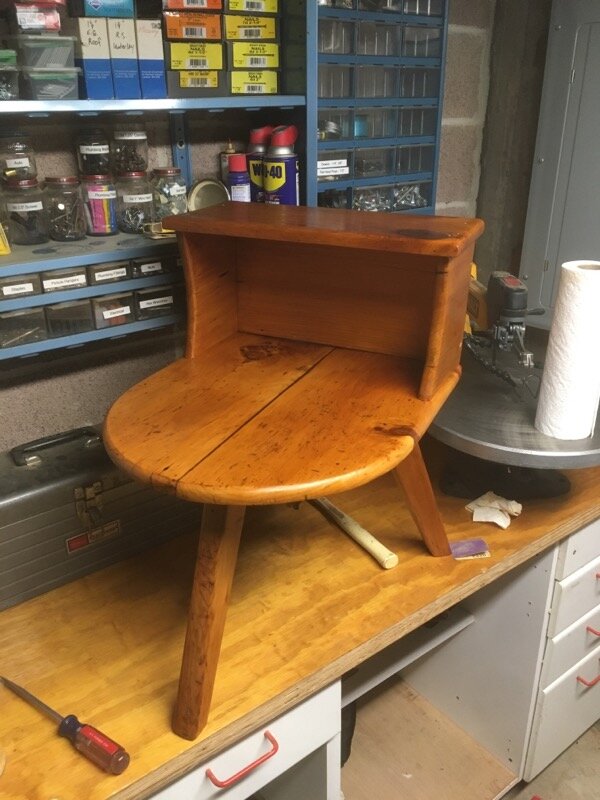
Squarely rebuilding the bookcase required relocating multiple screw holes. This again involved drilling out existing holes, filling with dowels, and redrilling. Leveling the top of the bookcase required shimming one of the sides and trimming the excess flush. Attaching the top was achieved by plugging prior holes and countersinking for the screwheads to sit flush. Rather than using filler, this displays the table’s construction honestly.
Five coats of amber shellac were applied, sanding in-between with 220 grit. Using super fine steel wool, a final polish of beeswax left a soft, smooth, satin sheen.

